New to Mobile Giving? Here’s How to Give Using Givelify
Your church may have just signed up with Givelify for mobile giving. Congratulations! Perhaps your place of worship has been on board for a while but you’re just not sure how mobile giving works or if it’s right for you.
We’re here to help you. Once you learn how simple and beautiful it is to give with Givelify, we’re sure you’ll never go back to checks, cash, or credit card swipers again.
Getting Started: Download the Givelify Mobile Giving App
To use Givelify for the first time, you’ll need to download the app. If you’re on an iPhone or iPad, go to the App Store to download Givelify to your 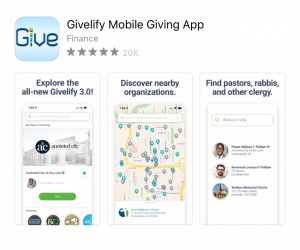 device. For Android devices, visit the Google Play Store.
Search for “Givelify” and then tap Install or Get.
Once downloading is complete, tap Open and you’re ready to go.
Making Your First Donation
If you’re located in the church building and making your first Givelify donation during offering time:
- Tap Nearby and the Givelify mobile giving app will locate you automatically.
- A blue pin will appear on the map at your location. Tap the pin to bring up a window with the name and address of your church.
- Then tap Give To to start your donation.
If you’re not present at services the first time you give:
- Tap Search and type in the name, city and state (or zip code) of your church. You will see a list of churches, with your church’s name at the top.
- Tap Give To to start your donation.
Once you have located your church, its profile will appear on the screen. If the profile has been filled out, you’ll see a logo, a cover photo, and your pastor’s photo. You will know right away that you’re giving to the correct organization.
Now it’s time to make your donation.
- At the bottom of your church’s profile, tap Give.
- Choose from a pre-set donation amount or tap Other to enter your own.
- Choose from one of the giving envelopes your church has set up. These could be Offering, Tithe, Building Fund, Mission Trip, or whatever areas your church has decided to include as options.
- Tap 1-Tap Give Now at the bottom of the screen to complete your donation
Creating An Account
The first time (and only the first time) you give, you’ll need to sign up for an account. You can either use your email address and a password of your choice, or use your Facebook credentials for easier login. It’s completely up to you which login method you use.
Adding Your Payment Information
You will need to enter your credit or debit card information to make donations. You will only need to do this once unless you change cards in the future.
You will need to enter the credit or debit card number, expiration date, and the CVV code (the three-digit code on the back beside the signature line). You also need to provide the billing name and address.
Completing Your First Donation
Once you’ve entered in your payment information, tap Confirm and your donation is complete. From now on you won’t have to log in or enter your card information to make donations. You can just tap the name of your church and be on your way.
Plus, your church is automatically saved in your Favorites so you don’t need to search for it again.
Marking Your Home Church
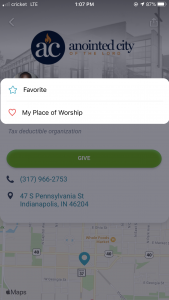
To save even more time, tap the heart icon beside the words “My Place of Worship.” This will save it as your “home” organization.
Now your preferred place of worship will always be the first thing you see on the screen when you open the Givelify mobile giving app.
Recommended for you
About the Author